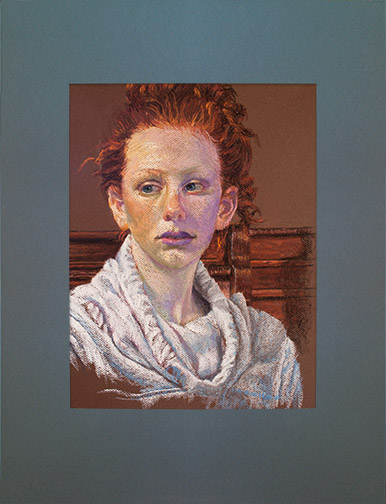
A few years ago I came across a great system to use when matting soft pastel artwork for framing. Those of you who frame a lot of work created with this medium have likely noticed that, over time, some of the chalk falls from the artwork and collects along the bottom inside edge of the mat. The system I’ll demonstrate avoids this.
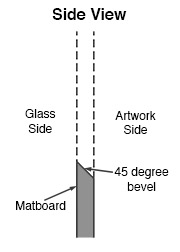 Key to this system is that you cut your mat with a 45 degree bevel, but reverse the bevel so the 45 degree cut edge faces inward, towards the artwork, not outward towards the glass, as it normally would. When cut correctly, you see a sharp edge on the inside of the mat surrounding your artwork, not the 45 degree cut edge that reveals the center color of the matboard (generally white).
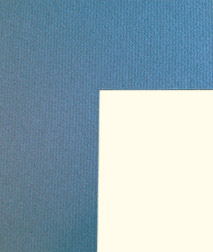
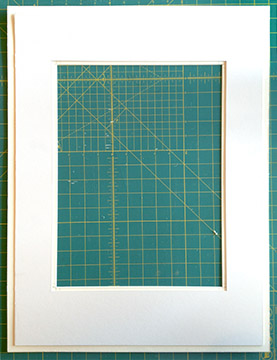
Next you need to cut a second hidden mat to be attached to the back of the first top mat to create an airspace between the artwork and the top mat. Any falling pastel chalk dust will fall behind the top mat and come to rest at the bottom of the airspace, out of view.
Since you won’t see this 2nd hidden mat, it’s a great opportunity to use scraps of that hideous colored mat board you have laying around. I cut mine from one piece of board, but there’s no reason why you couldn’t use separate strips of board for this function. I size my hidden mat so the viewing opening is 1/4″ smaller, all the way around, than my top mat and 1/2″ smaller, all the way around from the top mat’s outside edge. This way I’m sure no one will be able to see the hidden mat, when viewing my framed artwork from the side and by keeping my overall hidden mat smaller than the top mat, I avoid it getting in the way of the frame, when I put everything together. Remember, that this hidden mat will come into contact with the backer board you’ve attached your artwork to and possibly the artwork itself, so you need to use acid free, archival mat board, if longevity is important to you.
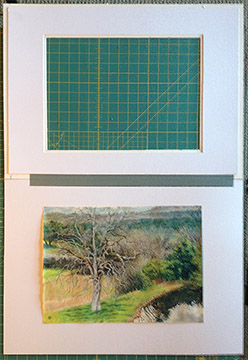
From here you just finish the framing following your normal procedure. I hinge my mat board to the backer board with archival tape.
Because I usually create my pastels on normal pastel paper, I couldn’t hinge the artwork to the backer board, as I normally do with works created on other substrates, using Japanese paper for the hinges and wheat starch as the adhesive. The wet wheat starch mixture would cause the paper to buckle, where the attachments were made. So, I used archival polypropylene photo corners, which I purchased at my local art store, to make the attachment.

That’s it! Use this mating system and you’ll never again have to pull your artwork out of the frame to clean the collected pastel dust from the edge of the mat.
