I’m a 3rd generation artists. My maternal grandfather was an artist (and a hilariously funny individual). He used to sketch things for us on a little yellow notepad, on demand. He owned a custom bedspread and drapery business, down on South San Pedro Street, in Los Angeles, where he designed and fabricated beautiful custom bedspreads and coordinated draperies for particular individuals, interior designers and hotel chains. He designed many of his own fabrics and all of his quilting patterns.

One of his daughters, my mother, was an even more diverse artist: painting oils, watercolors, creating and teaching ceramics, writing poetry, designing sets for local dramatic productions (acting in some of them), designing and fabricating unbelievable exotic costumes and working as a fashion designer for 30 years.
It goes without saying, that I had lots of support, once I showed an interest in art. My mom shared a lot of creative tools and methods with me, as I was becoming an artist. One of the most valuable, one I still use constantly today, is squinting.

Squinting is a great tool in helping you to simplify your subject matter, helping you eliminate details and identify the masses. Before I ever put pencil or brush to canvas, I squint to identify the mass shapes of the darks, mid-values and lights in my subject matter. What I see while squinting is what I indicate in my turp wash underpainting (the armature on which I build my painting).
I open my eyes fully, while painting, of course, to see the actually subtleties of the color and value before me, but I keep the masses in mind throughout the painting process to maintain a simplified, powerful relationship across my value range (darks, mid-tones and lights). If I lose sight of this relationship, I squint again for a refresher.

I’ve found this to be a wonderful way to separate out surface detail from value (grayscale) substance. I can confidently add as much surface detail (window dressing) as I want to my finished painting, but by squinting I reduce my subject down to basic shapes and values, eliminating any confusion, caused by the detail, in identifying the basic masses from which I want to build my composition.
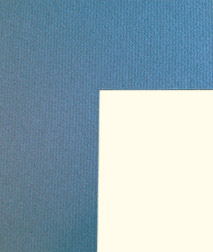
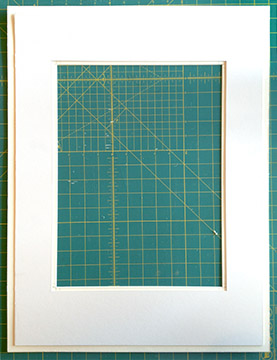
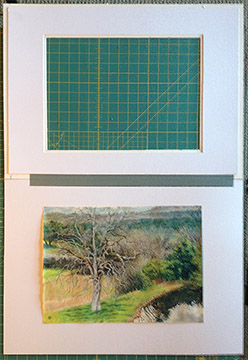
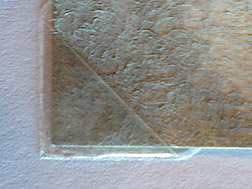
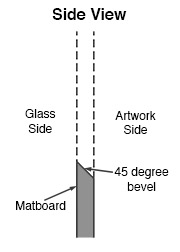 Key to this system is that you cut your mat with a 45 degree bevel, but reverse the bevel so the 45 degree cut edge faces inward, towards the artwork, not outward towards the glass, as it normally would. When cut correctly, you see a sharp edge on the inside of the mat surrounding your artwork, not the 45 degree cut edge that reveals the center color of the matboard (generally white).