Varnishing Acrylic Paintings
In the previous Fear of Varnish blog, I explained the proper procedure for preparing and varnishing an oil painting (the way I do it anyway). In this blog I’ll cover the proper way to varnish an acrylic painting. The recommended procedure has changed several times since 1953, when the acrylics we use today first became available to artists, so even if you think you know the right way to varnish an acrylic painting, you might want to follow along. I utilize the latest discoveries and recommended procedures in my process.
Acrylics, including acrylic varnishes, harden, but never truly dry, as oil paints do, instead, they remain slightly tacky. You may have noticed this yourself, if you ever laid two of your acrylic paintings face to face and then separated them. Recently it was discovered that on a microscopic level, acrylic paints actually attract dust to them and then attach that dust to the surface of the painting, through this tackiness, dulling the painting over time. So, the old method of finishing your acrylic painting off with a coat of acrylic varnish, will attract dust to the surface and dull your painting over time.
For this reason, experts began to recommend applying regular removable oil painting varnish to acrylic paintings as the final protective layer. They later discovered that removing that varnish to clean an acrylic painting, if it became dirty, was removing micro particles from the surface of the acrylic painting, along with the removable varnish.
Given the above, experts now recommend a couple layers of permanent acrylic varnish, followed by a couple layers of regular oil painting removable varnish. This way, when removal of the oil painting varnish takes a micro-layer of acrylic surface with it, it will be taking it from the sacrificial transparent layers of acrylic varnish, not from the surface of the painting itself.
Applying the Barrier or Sacrificial Layers
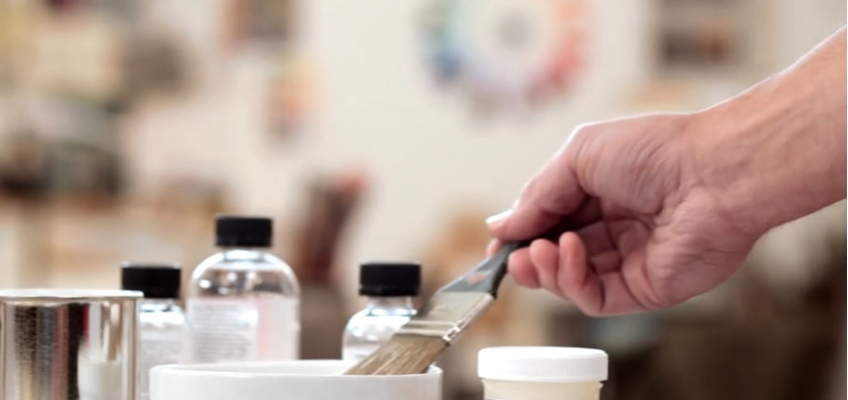
Allow your finished acrylic painting to dry for at least 72 hours. Make sure the surface of your painting is free of dust or dirt and apply the first coat of non-removable acrylic varnish, either brushing it across the painting horizontally or vertically. You only want to apply a thin layer and don’t over brush or overwork it. Overworking this varnish can cause it to cloud. Acrylic varnish comes in gloss, matte and satin finishes. You can also get it in a spray can, if you prefer that to brushing it on. Let the first coat dry 24 hours and apply a second coat of the permanent acrylic varnish. Apply this coat by brushing it in a direction perpendicular to the direction you brushed in applying your first coat. Allow this final layer of permanent acrylic varnish to dry 72 hours, before proceeding to the application of the removable painting varnish.
Applying the Removable Painting Varnish
Once your Barrier/Sacrificial layer has dried for 72 hours you can apply your removable varnish layers. Like with the acrylic varnish, apply the first layer either brushing on the varnish in a horizontal or vertical direction. Apply your removable varnish layers thinly and don’t over brush or overwork them. Doing so can leave brush strokes in your varnish layers. Removable painting varnish is also available in gloss, satin and matte finishes. You can get it in a spray-can version, if you prefer that to brushing. Allow this layer to dry for 24 hours, then apply a second layer of the removable painting varnish, brushing it on in a direction perpendicular to the direction you used with the first layer. For more detailed instructions on application of the removable varnish see the blog Fear of Varnish.
Happy varnishing!